Sunday, July 20, 2014

Time line of progress

Well, i have been very poor at updating. I have just been too busy working on the car itself :) Here is about 3 months of work on the GT-S.


The journey back, it's 12:15 am and i still had a 5 hour drive home.


This is where he spent a good 6 weeks while many parts were changed for new replacements such as: all new shocks and bushings, all new brakes (lines and everything), clutch, lightened flywheel, clutch master and slave, all motor mounts...the list goes on. My attempt was to restore the car to factory new.


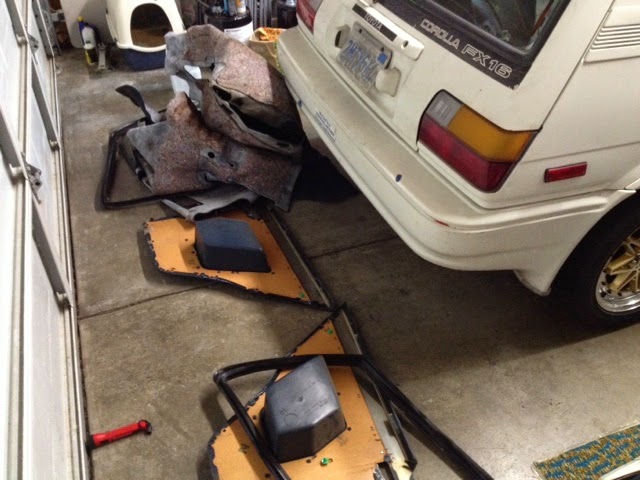
Interior is in pretty rough shape, plastics have faded and just so much dirt everywhere.


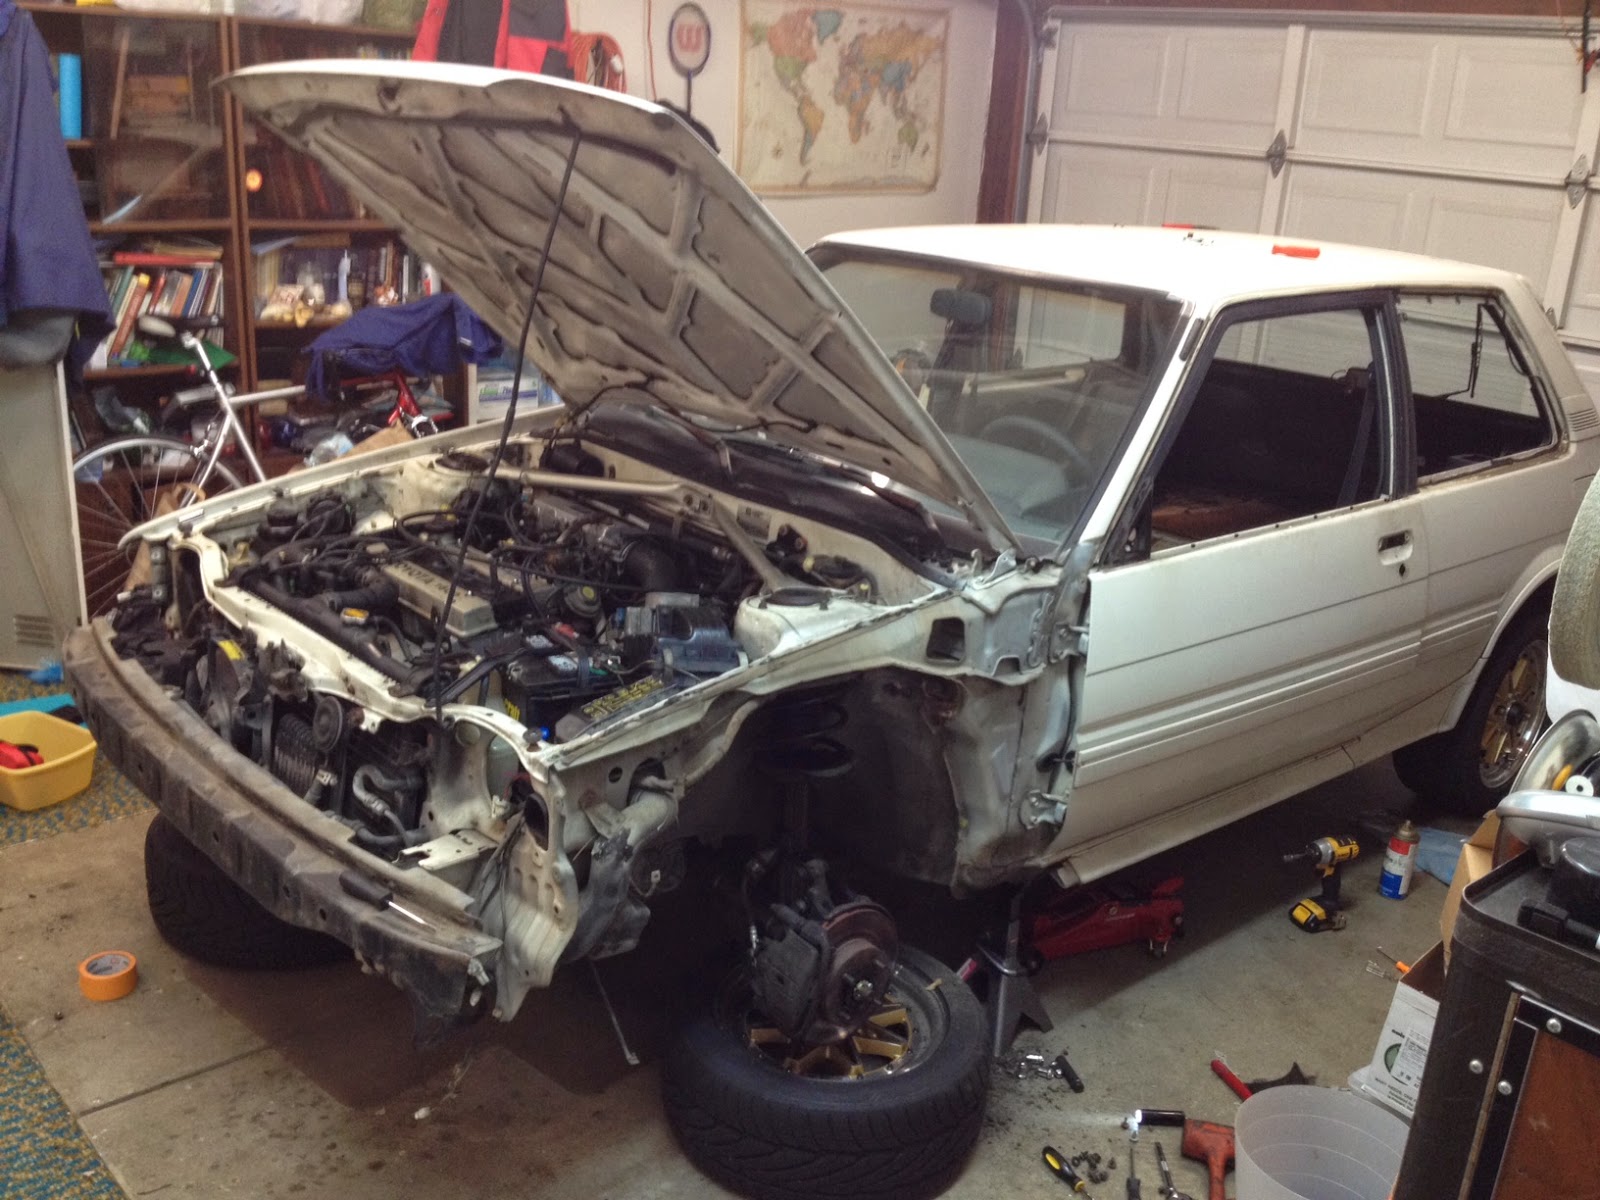
The tear down. Stripped all body pieces and interior pieces. I secured a replacement driver side fender and new bumper to be painted off the car.


Before and after paint.


Light surface rust in the spare wheel well was removed and then primed and sealed. After, I put dynamat on both the inner skins and outer skins of the car. It has made a MASSIVE difference in sound levels. Not a single rattle anywhere.


Just test fitting the body pieces, it's lookin' pretty good :)

.
.
.
.
.
.
.
.
.
.
.
.
.
.
.
.
.
.
.
.
.
.
.
.
.
.
.
.
.

TADA!


There he is :)

Just some last touches to take care of like putting the stickers on it.

I will post up the final pictures soon.

Thanks for reading!


Monday, June 9, 2014

Getting the exhaust straightened out

Today i am getting the gts a new catback exhaust. The stock exhaust had a lot of holes in it and sounded crummy. I had 2.25" tubing installed with a magnaflow muffler.


No disassemble!

Im taking the fx16 apart to get it ready for paint, the only piece I need is a new hood ( the one on it has a ding on top and it seperated from it's frame).

I have the doors completely apart, rear windows are out. All the lower trim is out. Seats are out, carpets are out.


I am carefully cataloging all the screws and clips to make sure it all comes back together. 


I got the drivers seat back from the upholstery guy, it looks like it's brand new :)


He is still working on the passenger seat and the rear seats.

I'm getting new keys cut from the lock number (instead of crummy copies) and I'm going to have the carpets and door cards cleaned.


Sunday, May 25, 2014

Fixing those old, sad tail lights

I picked up some spare tail lights for the gts from the junk yard, they were in great shape, but the lenses were really hazy and had over-spray on them. I picked up a headlight restoration kit from 3M, which i picked up for about 20 bucks.


Here is the before and after. One looks like a shiny candy, the other just looks old.

HOW TO DO IT YOURSELF

First, I used 400 grit sand paper. Keep sand paper wet and work your way around the whole lens. Clean the lens after.
Use the 500 grit pad that comes in the 3M kit, use it dry.

After you are done, it should look like this. Clean lens.
Next, use the 800 grit paper, use it dry.
This is what it should look like, notice the dust is much finer. Clean lens.
Now use the 3000 grit pad, make sure lens stays wet and the pad stays wet, apply water to lens from time to time. You should start seeing a milky white substance left behind. Clean lens, you should notice lens is smooth, but not shiny.
Use the polishing pad, apply dime size of rubbing compound to pad and smear it all over the lens first and then start working your way all around the lens. Wipe it off with a microfiber cloth and this is where you will see some serious shine. Repeat if you want even a deeper shine. 
Smearing the compound
Just after wiping off the compound.
Ta-Da! Now they look like brand new again!